
电脑外置摄像头选择与安装技巧
电脑高手
2024-12-20 01:00:50
0次
电脑外置摄像头选择与安装技巧
一、选择技巧
1. 分辨率与画质
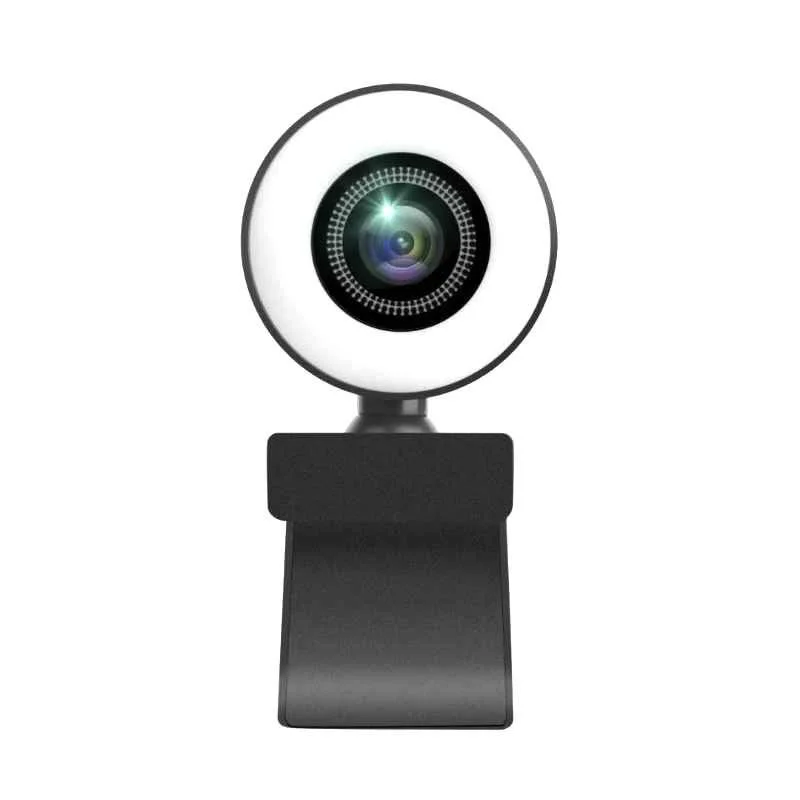
在购买外置摄像头时,首先要考虑的是其分辨率和画质。高分辨率的摄像头能够捕捉到更清晰、更细腻的图像,对于需要经常进行视频会议或网络直播的用户来说尤为重要。
2. 镜头与视角
摄像头的镜头类型和视角也是选择时需要考虑的因素。广角镜头可以提供更宽的视野,适合需要拍摄较大场景的用户。而鱼眼镜头则可以提供更大的视角,但会牺牲一部分画质。因此,要根据实际需求进行选择。
3. 兼容性与接口
确保摄像头与你的电脑兼容,并了解其接口类型。常见的接口类型有USB、Type-C等,要确保接口与电脑或扩展坞相匹配。
4. 品牌与售后
选择知名品牌的摄像头,质量更有保障。同时,关注售后服务,以便在遇到问题时能够及时得到解决。
二、安装技巧
1. 安装前准备
在安装前,确保已购买合适的摄像头,并准备好所需的工具和配件。同时,检查电脑或扩展坞的接口是否与摄像头接口相匹配。
2. 安装步骤
将摄像头连接到电脑的USB接口上,确保连接稳定。然后打开电脑,进入设备管理器查看是否已成功识别摄像头。如未识别,可尝试重新插拔或更换接口。
3. 驱动与软件安装
根据摄像头品牌和型号,下载并安装相应的驱动程序和软件。这些软件可以帮助你调整摄像头的设置,如分辨率、画质等。
4. 调整与测试
安装完成后,调整摄像头的位置和角度,确保能够捕捉到清晰的画面。然后进行测试,确保画面稳定、无延迟、无噪音等问题。
 通过以上技巧,我们可以选择到一款合适的电脑外置摄像头并进行正确安装。在购买时要注意分辨率、镜头、兼容性等因素;在安装时要确保连接稳定、驱动安装正确;在使用时要调整好位置和角度并进行测试。这样,我们就可以充分利用外置摄像头进行视频会议、网络直播等活动了。
English Version:
Tips for Choosing and Installing an External Camera for Computers
I. Choosing Skills
1. Resolution and Image Quality
When purchasing an external camera, the first thing to consider is its resolution and image quality. A high-resolution camera can capture clearer and more detailed images, which is especially important for users who often conduct video conferences or live streams online.
2. Lens and Viewing Angle
The type of lens and viewing angle of the camera are also factors to consider when choosing. Wide-angle lenses can provide a wider field of view, suitable for users who need to capture a larger scene. Fish-eye lenses can provide a larger viewing angle but may sacrifice some image quality. Therefore, it is necessary to choose according to actual needs.
3. Compatibility and Interface
Ensure that the camera is compatible with your computer and understand the interface type. Common interface types include USB, Type-C, etc., so make sure the interface matches your computer or expansion dock.
通过以上技巧,我们可以选择到一款合适的电脑外置摄像头并进行正确安装。在购买时要注意分辨率、镜头、兼容性等因素;在安装时要确保连接稳定、驱动安装正确;在使用时要调整好位置和角度并进行测试。这样,我们就可以充分利用外置摄像头进行视频会议、网络直播等活动了。
English Version:
Tips for Choosing and Installing an External Camera for Computers
I. Choosing Skills
1. Resolution and Image Quality
When purchasing an external camera, the first thing to consider is its resolution and image quality. A high-resolution camera can capture clearer and more detailed images, which is especially important for users who often conduct video conferences or live streams online.
2. Lens and Viewing Angle
The type of lens and viewing angle of the camera are also factors to consider when choosing. Wide-angle lenses can provide a wider field of view, suitable for users who need to capture a larger scene. Fish-eye lenses can provide a larger viewing angle but may sacrifice some image quality. Therefore, it is necessary to choose according to actual needs.
3. Compatibility and Interface
Ensure that the camera is compatible with your computer and understand the interface type. Common interface types include USB, Type-C, etc., so make sure the interface matches your computer or expansion dock.
 4. Brand and After-sales Service
Choose a well-known brand of camera for better quality assurance. At the same time, pay attention to after-sales service so that you can get timely solutions when encountering problems.
II. Installation Skills
1. Preparation before Installation
Before installation, make sure you have purchased a suitable camera and prepared the necessary tools and accessories. At the same time, check whether the interface of the computer or expansion dock matches the camera interface.
2. Installation Steps
Connect the camera to the USB port of the computer to ensure a stable connection. Then turn on the computer and go to the device manager to check whether the camera has been successfully recognized. If not recognized, try re-plugging or replacing the interface.
3. Driver and Software Installation
Download and install the corresponding drivers and software according to the brand and model of the camera. These software can help you adjust the camera settings, such as resolution, image quality, etc.
4. Adjustment and Testing
After installation, adjust the position and angle of the camera to ensure a clear picture is captured. Then test it to ensure that there are no issues such as instability, delay, or noise in the image.
III. Summary
With these tips, we can choose a suitable external camera for our computers and install it correctly. When purchasing, pay attention to factors such as resolution, lens, compatibility, etc.; when installing, ensure a stable connection and correct driver installation; when using, adjust the position and angle correctly and conduct a test. In this way, we can fully utilize the external camera for activities such as video conferences and live streams online.
4. Brand and After-sales Service
Choose a well-known brand of camera for better quality assurance. At the same time, pay attention to after-sales service so that you can get timely solutions when encountering problems.
II. Installation Skills
1. Preparation before Installation
Before installation, make sure you have purchased a suitable camera and prepared the necessary tools and accessories. At the same time, check whether the interface of the computer or expansion dock matches the camera interface.
2. Installation Steps
Connect the camera to the USB port of the computer to ensure a stable connection. Then turn on the computer and go to the device manager to check whether the camera has been successfully recognized. If not recognized, try re-plugging or replacing the interface.
3. Driver and Software Installation
Download and install the corresponding drivers and software according to the brand and model of the camera. These software can help you adjust the camera settings, such as resolution, image quality, etc.
4. Adjustment and Testing
After installation, adjust the position and angle of the camera to ensure a clear picture is captured. Then test it to ensure that there are no issues such as instability, delay, or noise in the image.
III. Summary
With these tips, we can choose a suitable external camera for our computers and install it correctly. When purchasing, pay attention to factors such as resolution, lens, compatibility, etc.; when installing, ensure a stable connection and correct driver installation; when using, adjust the position and angle correctly and conduct a test. In this way, we can fully utilize the external camera for activities such as video conferences and live streams online.
三、总结
【摄像头/直播摄像头/云台摄像头】720P电脑摄像头USB视频麦克免带驱动风带咪夹显示器带夜视灯108新售价:70.80元 领券价:70.8元 邮费:0.00
【摄像头/直播摄像头/云台摄像头】高清电脑摄像头带麦克风带咪网络视课频网USB免驱在线教育新品售价:77.68元 领券价:77.68元 邮费:0.00
相关内容
热门资讯
电脑摄像头常见问题解答:如何设...
文章介绍了电脑摄像头的设置、调整和使用方法,包括连接设备、调整隐私设置、摄像头位置和焦距、图像参数等...
如何在电脑上进行多路摄像头的监...
摘要:本文介绍了如何在电脑上进行多路摄像头的监控与切换,包括准备步骤、操作步骤和注意事项。需准备硬件...
电脑摄像头:从基础到高级的全方...
本文介绍了电脑摄像头的全方位使用教程,从基础连接、设置到高级应用如视频会议、网络直播和安全监控等方面...
电脑内置摄像头:保护隐私还是侵...
电脑内置摄像头可用于保护隐私,如视频会议和安全监控。但也可能侵犯隐私,如未经授权的监控和误用。为保护...
摄像头画质大比拼:电脑摄像头与...
电脑摄像头与专业摄像机在传感器、镜头质量和图像处理能力等方面存在显著差距,导致其画质不同。专业摄像机...
电脑外置摄像头与内置摄像头的优...
摘要:内外置摄像头各有优劣,内置摄像头方便集成且价格实惠,但画质和视角受限;外置摄像头则更灵活、画质...
电脑摄像头安全指南:如何防止被...
为保护电脑摄像头安全,遵循定期更新软件、使用强密码、不下载未知软件、使用防火墙和安全软件等安全指南,...
电脑摄像头常见问题及解决方案
本文介绍了电脑摄像头常见问题及解决方案,包括无法打开、画面模糊、启动问题、无法捕捉清晰画面和连接电脑...
摄像头与电脑:如何正确连接与设...
本文介绍了如何将摄像头与电脑正确连接与设置。首先准备工具和设备,连接摄像头并安装驱动程序,然后打开摄...
智能摄像头与电脑连接的几个步骤
智能摄像头与电脑连接需准备设备及工具,连接硬件后安装驱动或软件,测试并调整摄像头设置。此过程确保摄像...