
电脑主板的安装与拆卸教程,初学者也能轻松上手
电脑高手
2025-01-11 14:00:55
0次
电脑主板的安装与拆卸教程,初学者也能轻松上手
 电脑主板是电脑的核心部件之一,负责连接各种硬件设备。了解主板的安装与拆卸方法对于电脑维护和升级至关重要。本文将详细介绍电脑主板的安装与拆卸步骤,帮助初学者轻松上手。
二、安装教程
1. 准备工具和材料
在开始安装主板之前,需要准备好相应的工具和材料,包括螺丝刀、散热器、内存条、显卡等。
2. 确定主板型号和尺寸
在购买主板时,要了解主板的型号和尺寸,以便选择合适的机箱进行安装。
3. 安装机箱电源和风扇
在安装主板之前,需要先安装机箱电源和风扇,以便为主板提供稳定的供电和散热环境。
4. 安装主板
将主板放置在机箱的相应位置,用螺丝刀固定好。注意要将主板上的接口与机箱的接口相对应,以便后续连接其他硬件设备。
5. 连接内存条和显卡
将内存条插入主板上的内存插槽中,并固定好。如果需要安装显卡,将其插入主板上的显卡插槽中,并用螺丝固定。
6. 连接其他硬件设备
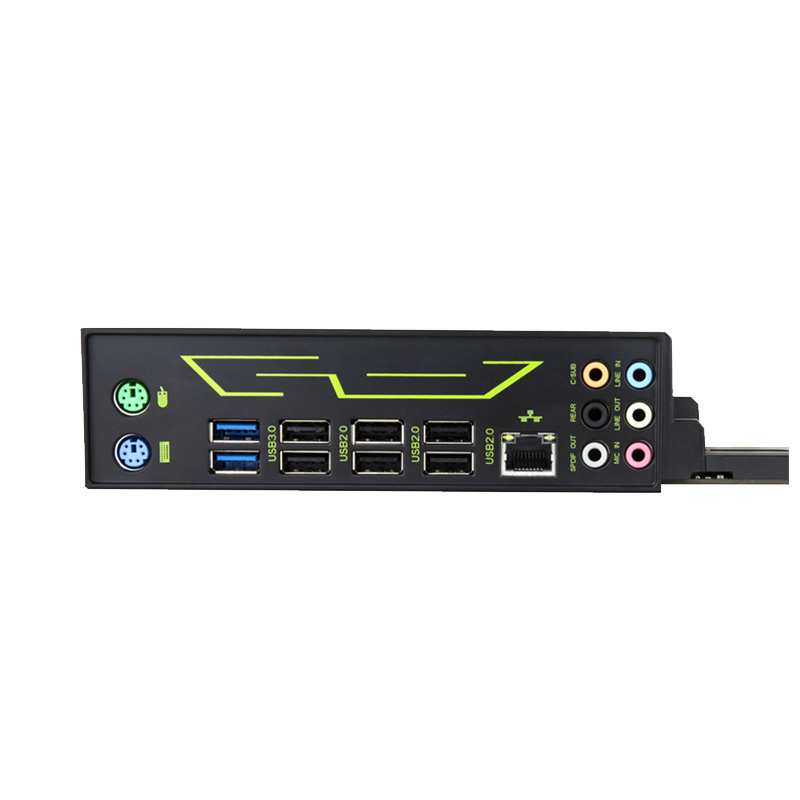
根据需要连接其他硬件设备,如硬盘、光驱等。在连接过程中,要注意设备的接口类型和主板上的接口是否匹配。
三、拆卸教程
1. 断开电源和拆卸其他硬件设备
在拆卸主板之前,需要先断开电源并拆卸其他已连接的硬件设备。
2. 卸下螺丝并取下主板
使用螺丝刀卸下固定主板的螺丝,然后轻轻取下主板。在取下主板时,要注意不要过度用力,以免损坏其他硬件设备。
3. 拆卸内存条和显卡(如有)
如果需要拆卸内存条或显卡,可以轻轻拔出或用螺丝刀卸下固定螺丝。在拆卸过程中,要注意不要过度用力或损坏接口。
四、注意事项
1. 在安装和拆卸过程中,要小心谨慎,避免损坏其他硬件设备。
2. 在安装和拆卸之前,要仔细阅读相关手册和教程,了解每个步骤的具体操作方法。
3. 如果不熟悉电脑硬件的安装和拆卸,建议寻求专业人士的帮助。
五、英文翻译:
Computer Mainboard Installation and Disassembly Tutorial for Beginners - Easy to Follow Steps:
电脑主板是电脑的核心部件之一,负责连接各种硬件设备。了解主板的安装与拆卸方法对于电脑维护和升级至关重要。本文将详细介绍电脑主板的安装与拆卸步骤,帮助初学者轻松上手。
二、安装教程
1. 准备工具和材料
在开始安装主板之前,需要准备好相应的工具和材料,包括螺丝刀、散热器、内存条、显卡等。
2. 确定主板型号和尺寸
在购买主板时,要了解主板的型号和尺寸,以便选择合适的机箱进行安装。
3. 安装机箱电源和风扇
在安装主板之前,需要先安装机箱电源和风扇,以便为主板提供稳定的供电和散热环境。
4. 安装主板
将主板放置在机箱的相应位置,用螺丝刀固定好。注意要将主板上的接口与机箱的接口相对应,以便后续连接其他硬件设备。
5. 连接内存条和显卡
将内存条插入主板上的内存插槽中,并固定好。如果需要安装显卡,将其插入主板上的显卡插槽中,并用螺丝固定。
6. 连接其他硬件设备
根据需要连接其他硬件设备,如硬盘、光驱等。在连接过程中,要注意设备的接口类型和主板上的接口是否匹配。
三、拆卸教程
1. 断开电源和拆卸其他硬件设备
在拆卸主板之前,需要先断开电源并拆卸其他已连接的硬件设备。
2. 卸下螺丝并取下主板
使用螺丝刀卸下固定主板的螺丝,然后轻轻取下主板。在取下主板时,要注意不要过度用力,以免损坏其他硬件设备。
3. 拆卸内存条和显卡(如有)
如果需要拆卸内存条或显卡,可以轻轻拔出或用螺丝刀卸下固定螺丝。在拆卸过程中,要注意不要过度用力或损坏接口。
四、注意事项
1. 在安装和拆卸过程中,要小心谨慎,避免损坏其他硬件设备。
2. 在安装和拆卸之前,要仔细阅读相关手册和教程,了解每个步骤的具体操作方法。
3. 如果不熟悉电脑硬件的安装和拆卸,建议寻求专业人士的帮助。
五、英文翻译:
Computer Mainboard Installation and Disassembly Tutorial for Beginners - Easy to Follow Steps:
 I. Introduction: The computer mainboard is one of the core components of a computer, responsible for connecting various hardware devices. Understanding the installation and disassembly methods of the mainboard is crucial for computer maintenance and upgrades. This article will provide a detailed tutorial on the installation and disassembly steps of the computer mainboard to help beginners easily get started.
II. Installation Tutorial: 1. Prepare tools and materials: Before starting the installation of the mainboard, it is necessary to prepare the corresponding tools and materials, including a screwdriver, cooler, memory sticks, graphics card, etc. 2. Determine the mainboard model and size: When purchasing a mainboard, it is important to understand the model and size of the mainboard to choose a suitable case for installation. 3. Install the case power supply and fan: Before installing the mainboard, it is necessary to install the case power supply and fan to provide a stable power supply and cooling environment for the mainboard. 4. Install the mainboard: Place the mainboard in the appropriate position in the case and fix it with a screwdriver. Make sure that the interfaces on the mainboard correspond to the interfaces on the case for subsequent connection of other hardware devices. 5. Connect memory sticks and graphics cards: Insert the memory sticks into the memory slots on the mainboard and fix them securely. If a graphics card needs to be installed, insert it into the graphics card slot on the mainboard and fix it with a screw. 6. Connect other hardware devices: Connect other hardware devices as needed, such as hard drives, optical drives, etc. During the connection process, pay attention to the interface type of the device and whether it matches the interface on the mainboard. III. Disassembly Tutorial: 1. Disconnect power supply and disassemble other hardware devices: Before disassembling the mainboard, it is necessary to disconnect the power supply and disassemble any other connected hardware devices. 2. Remove screws and take out the mainboard: Use a screwdriver to remove the screws that fix the mainboard and gently take out the mainboard. When taking out the mainboard, be careful not to use excessive force to avoid damaging other hardware devices. 3. Disassemble memory sticks and graphics cards (if any): If necessary, gently pull out or use a screwdriver to remove the fixing screws of memory sticks or graphics cards.
I. Introduction: The computer mainboard is one of the core components of a computer, responsible for connecting various hardware devices. Understanding the installation and disassembly methods of the mainboard is crucial for computer maintenance and upgrades. This article will provide a detailed tutorial on the installation and disassembly steps of the computer mainboard to help beginners easily get started.
II. Installation Tutorial: 1. Prepare tools and materials: Before starting the installation of the mainboard, it is necessary to prepare the corresponding tools and materials, including a screwdriver, cooler, memory sticks, graphics card, etc. 2. Determine the mainboard model and size: When purchasing a mainboard, it is important to understand the model and size of the mainboard to choose a suitable case for installation. 3. Install the case power supply and fan: Before installing the mainboard, it is necessary to install the case power supply and fan to provide a stable power supply and cooling environment for the mainboard. 4. Install the mainboard: Place the mainboard in the appropriate position in the case and fix it with a screwdriver. Make sure that the interfaces on the mainboard correspond to the interfaces on the case for subsequent connection of other hardware devices. 5. Connect memory sticks and graphics cards: Insert the memory sticks into the memory slots on the mainboard and fix them securely. If a graphics card needs to be installed, insert it into the graphics card slot on the mainboard and fix it with a screw. 6. Connect other hardware devices: Connect other hardware devices as needed, such as hard drives, optical drives, etc. During the connection process, pay attention to the interface type of the device and whether it matches the interface on the mainboard. III. Disassembly Tutorial: 1. Disconnect power supply and disassemble other hardware devices: Before disassembling the mainboard, it is necessary to disconnect the power supply and disassemble any other connected hardware devices. 2. Remove screws and take out the mainboard: Use a screwdriver to remove the screws that fix the mainboard and gently take out the mainboard. When taking out the mainboard, be careful not to use excessive force to avoid damaging other hardware devices. 3. Disassemble memory sticks and graphics cards (if any): If necessary, gently pull out or use a screwdriver to remove the fixing screws of memory sticks or graphics cards.
一、前言
【主板】新款X全B85BB75//新250台式机电脑主板M.2/NVME mini主机17*17套售价:1382.51元 领券价:1382.51元 邮费:0.00
【主板】华南金牌X79豪华烈焰至尊大板台式ATX电脑主板CPU套装2011针e5售价:904.00元 领券价:904元 邮费:0.00
相关内容
热门资讯
主板技术深度解析:电脑性能的关...
本文深入解析了主板技术,包括芯片组、扩展槽、内存插槽和供电系统等关键因素,并探讨了主板与电脑性能的关...
"电脑主板的选购技巧:从入门到...
选购电脑主板技巧从入门到精通,需明确使用需求、认识芯片组、了解扩展性及品牌品质。进阶需注意专业评测与...
了解电脑主板的发展历程,从历史...
本文概述了电脑主板的发展历程,从早期简单设计到现今复杂电路的技术突破。从历史角度看,未来电脑主板将呈...
主板故障排查:电脑出现问题的解...
本文介绍了主板故障排查的常见方法和解决电脑问题的有效途径,包括观察电脑启动情况、检查硬件连接、使用诊...
电脑主板的构造与功能:你了解你...
本文介绍了电脑主板的构造与功能。主板由电路板、芯片组、插槽与接口等构成,连接协调各部件,实现数据传输...
电脑主板的扩展性:如何选择适合...
选择适合未来升级的主板需考虑需求、插槽类型、扩展槽和接口、供电设计及品牌质量。明确需求,选合适插槽的...
升级电脑主板:如何避免常见误区...
本文介绍了升级电脑主板时如何避免常见误区,包括硬件配置不匹配、盲目追求高端品牌、忽视BIOS更新、散...
电脑主板市场趋势分析:未来哪些...
摘要:
电脑主板市场趋势朝向智能化、集成化、高速传输和环保发展。未来技术如AI、5G、虚拟化将引领...
电脑主板维修常识及注意事项
本文介绍了电脑主板维修的常识和注意事项,包括专业知识、工具准备、故障判断和分类,以及安全第一、避免静...
深入了解电脑主板的功能与构造
文章摘要:
本文详细介绍了电脑主板的功能与构造,包括连接、控制、扩展及电源管理等功能,同时解析了主...